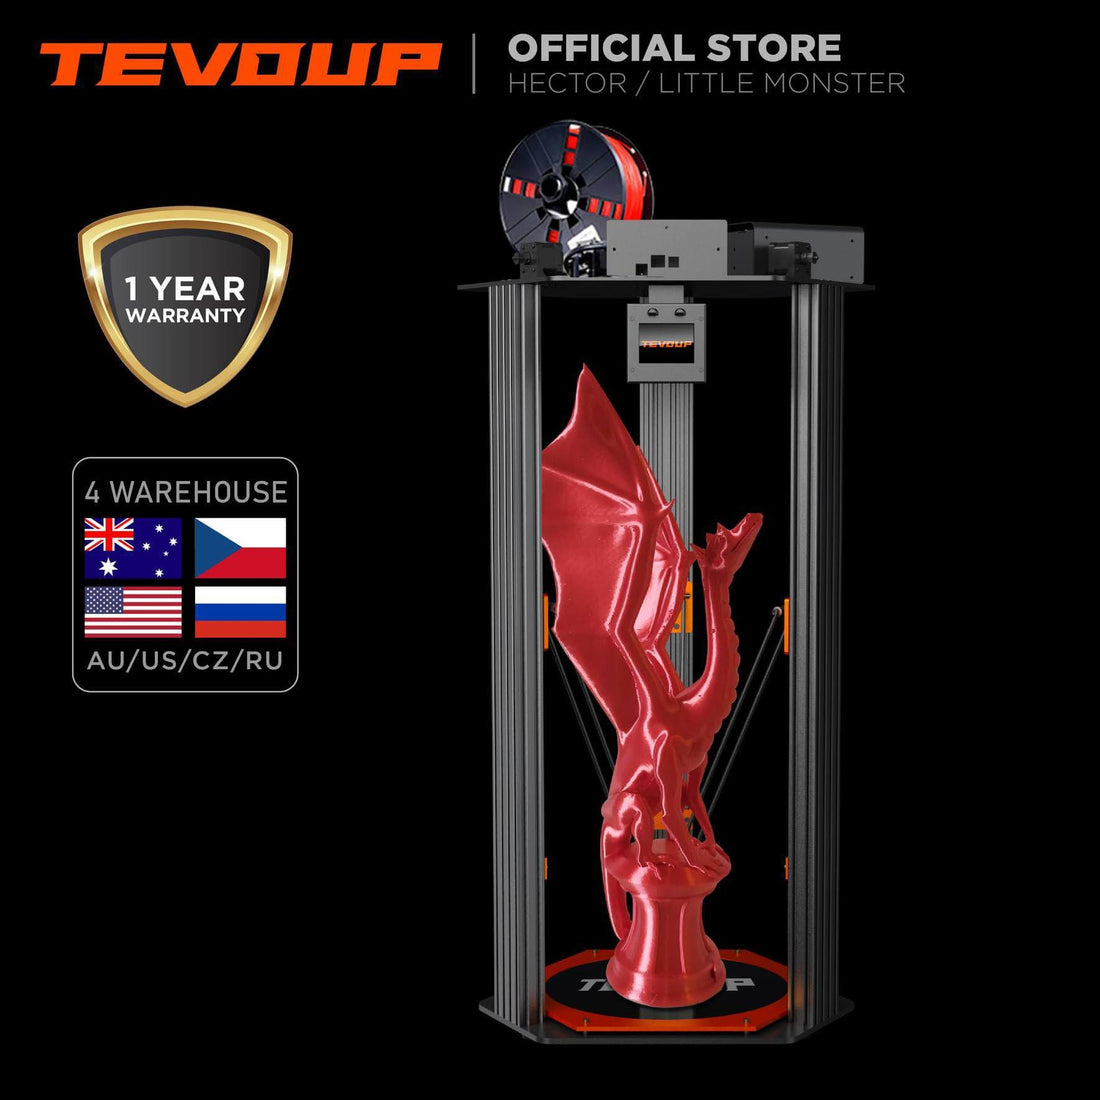
Little Monster Zeus' Earth Viceroy
Introduction:
As I said in my previous description, the Tarantula RS printed everything in the right quality and extremely fast. But there comes a day in a man's life when he wants something that is unreasonably large, or something that he won't need for another 20 years. Of course, here again, the first step was to break through my wife's blockade. After a few routine questions...what do you need this for?...where are you going to put it?...will you ever print something this big?...can you even do it?...can you put it together?...a simple internationally accepted answer made my wife understand that it was essential to me. All I said was, please, I beg you, let me, you can buy what you want.
After that, I just had to ask my friend Yongyi Wang to send me one, and since TevoUp takes care of its friends, it was mailed the next day. The mailing was quick, 2-3 weeks max, so I didn't have to wait long for the "little" monster.
Packaging:
The machine arrived in a rather large and heavy cardboard box. The machine weighed almost 20 kg. No special attention was paid to the packaging, but what was missing from the box was put into the printer.
The parts are packed in such a way that nothing in the foam bed can be damaged even by accident (it is worth checking the foam bed carefully to make sure that nothing is hidden inside). I had to watch it over several times because there was always one-one piece missing .
The small parts bags are labelled in English, numbered. Nowhere Chinese characters.
The power supply is housed in a separate metal box, and the motherboard is housed in a Plexiglas box with an openable lid. Therefore that you have to plug in the motherboard connectors yourself, but a very precise description is included. The connection between the power supply and the motherboard is made with a bayonet-locking cable. But I'll talk about that later.
All the tools we need for the installation are also included.

Installation:
Assembly the Little Monster is not complicated if you pay attention to the position of the holes and, in the assembly instructions. Although to some parts may require assistance due to the weight, you can assemble it alonbe. Most of the parts are easy assembling and can be clearly located by looking at the drawing but it is worth looking at everything carefully, I myself have disassembled the finished structure almost 4 times. I would like to share the two pictures below to help. Unfortunately, on some models, the pins of the stepper motors have to be reorder from the original. If by chance the printer starts to move abnormally on first startup, you will need to reorder the cables as shown in the picture below. (Figure 1.)
To correctly connect the cables, see (Figure 2.).
 |
 |
REARRANGEMENT OF STEPPER MOTO |
CABLES CONNECTION OF MOTHERBOARD CABLES |
Figure 1. |
Figure 2. |
By the end of the installation, it was obvious that they tried to minimise the number of cables hanging out, and what should be visible is routed in a cable sock, and the connection to the electrical box is made with a solid metal plug. (Nice and sophisticated)
If anyone doesn't like to search, I'll share the links below where the assembly instructions are available.
Assemby video: Link
and for the brave ones, try using this. 😊
Assembly draw: Monster Manual6-10.pdf on the SD card.
USEFUL AND OR REQUIRED INFORMATION:
IMPORTANT: As the factory installed motherboard is not able to store firmware, all necessary data is stored on the printer's microSD card. Factory firmware installed, the printer refused to use the BLTouch for me, so I immediately started with an update.
IMPORTANT: The updated firmware can be downloaded here: LittleMonsterFW BLv3.0.rar
IMPORTANT: Don’t attempt to update the TFT firmware, as it will cause the screen to crash in any case. If the problem does occur, you can restore the screen with the following firmware: TFT revive
IMPORTANT: Calibration should only be started once and wait for the process to complete, after which the printer will remember the calibrated values. The next time you need to start printing, it will remeber the settings!
IMPORTANT: The Z Offset can be set in the Start G-Code, if set here, will the printer automatically start in the correct position when printing
IMPORTANT: The printer only works correctly with the Sliccer on the SD card and Repetier-Host. You will find a description of how to set and use them at the end of Monster Manual6-10.pdf.
Printing:
Since the firmware is given the printer program is plug & play all you have to do is find some files to see what your printer can do.
But there are a few more you should run if you want to make sure your printer is well fixed.
It's very important to make sure that support is turned off for these files, and that the layer thickness is 0.1 or 0.15.
https://www.thingiverse.com/thing:1278865
This is a simple calibration test cube for your 3D printer with X, Y & Z written on the axis.
To further calibrate your 3D printer print one out and you can then measure this models dimensions against the expected dimensions.
Once this is done you are able, if your 3D printer allows it, to adjust your Steps per mm in your printers firmware.
https://www.thingiverse.com/thing:763622
#3DBenchy - The jolly 3D printing torture-test
https://www.thingiverse.com/thing:704409
This is a hard to print testfile!
often you don't know if your printer is ready for complex files. with this file you have an easy option to check problematic printing/slicing stuff.
https://www.thingiverse.com/thing:2729076
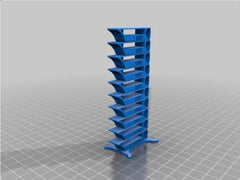
Smart compact temperature calibration tower, so you know at what temperature you print best.


Print:
THINGIVERSE is full of pre-made and already implemented printing ideas. You'll find everything from wooden spoons to machine guns, literally everything. Here: https://www.thingiverse.com/
Unfortunately, I haven't had a chance to test the printer on large models, but the results are excellent on smaller models. The printer is fast and works beautifully, if you use the right material you will be able to produce beautiful models with the Little Monster. But not to leave anybody hanging, I have searched for 1-2 models produced with this printer.


NOW I'LL TALK A BIT ABOUT THE PRINTER
The maximum object size that can be printed is 350 x 350 x 500 millimetres, which is quite large, perhaps the largest in its class.
Of course, it is possible to print things larger than this, in which case the model's designers make sure that the parts fit together without falling apart.
The material ejected by the head is 0.4 millimetres thick and the maximum print speed is 150 millimetres per second. I was able to test this and it does not fail even at this speed, and the quality of the model is maintained.
The biggest negative of the printer is that it is terribly noisy. If you can't manage to run it in another room, it's almost impossible to sleep next to it. And printing 1-1 models can take up to 48+ hours.
Of course, you can get everything you need to run it, such as printing filament in several colours, nozzles for the print head (a spare is included), and generally all the parts you need.
As already mentioned, you can print from a computer or even from a memory card, the machine's display providing enough information for the latter. An extra feature is that it can also resume interrupted printing, so that, for example, in the event of a power failure, the half-finished product does not go to waste, the machine continues where work left off.
What I also like is that there are plenty of accessories for the printer itself available online. Not things you have to buy, but things you can print. There are, for example, thread guides, tool trays.
But on the TevoUp website, you can also buy a lot of accessories that make the machine even more professional, produce a more beautiful model or speed up the printing speed.
SUMMARY:
The Little Monster outperforms its competitors in price and size. If one can overcome the initial installation difficulties and manage to make the printer work in isolation, it can be the ideal tool for printing any model.
MY LITTLE MONSTER
